ℹ️ - Gran Turismo 7 Light Trail Guide
Developer: Polyphony Digital
Publisher: Sony Interactive Entertainment
Platform: PS5
Initial Release: 4th March 2022
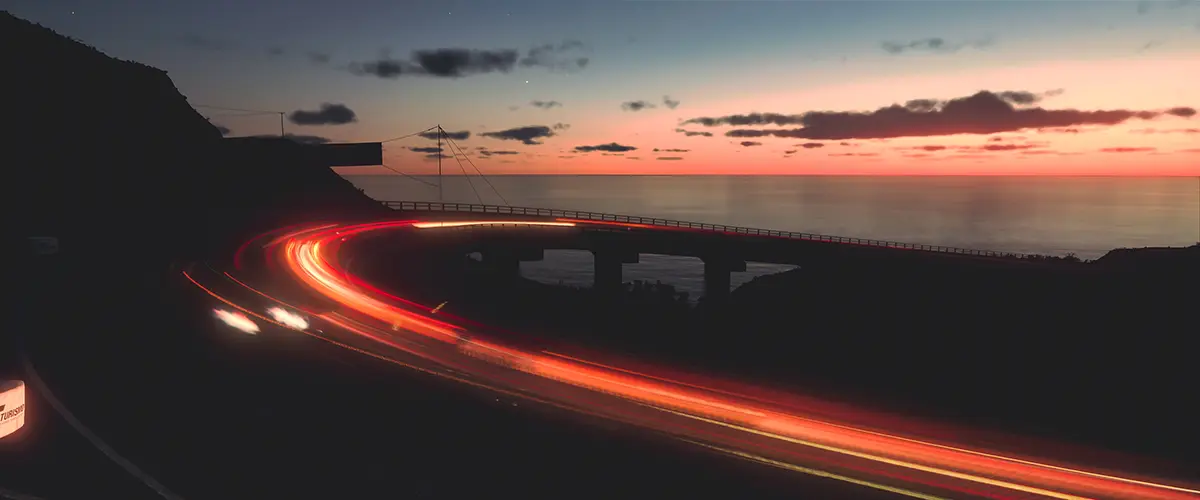
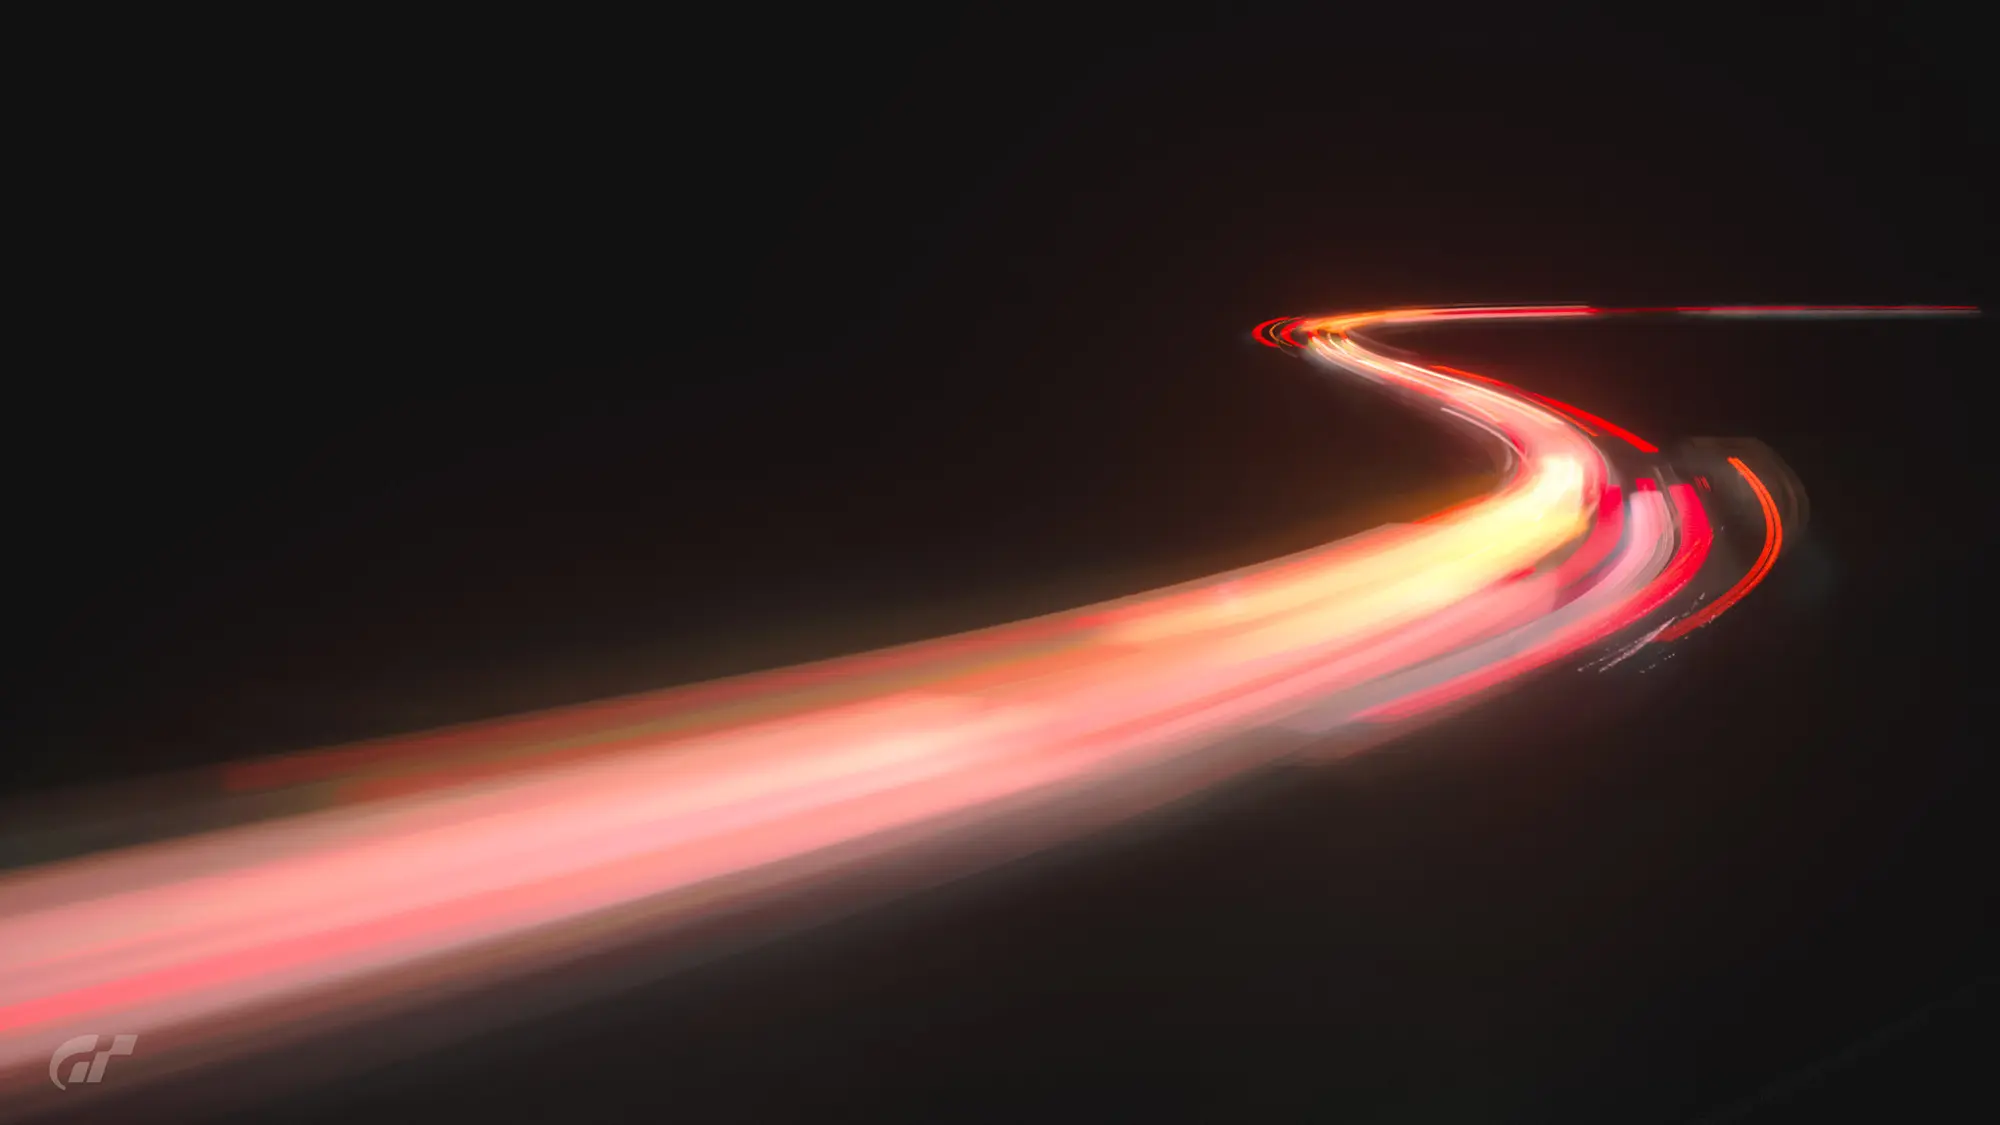
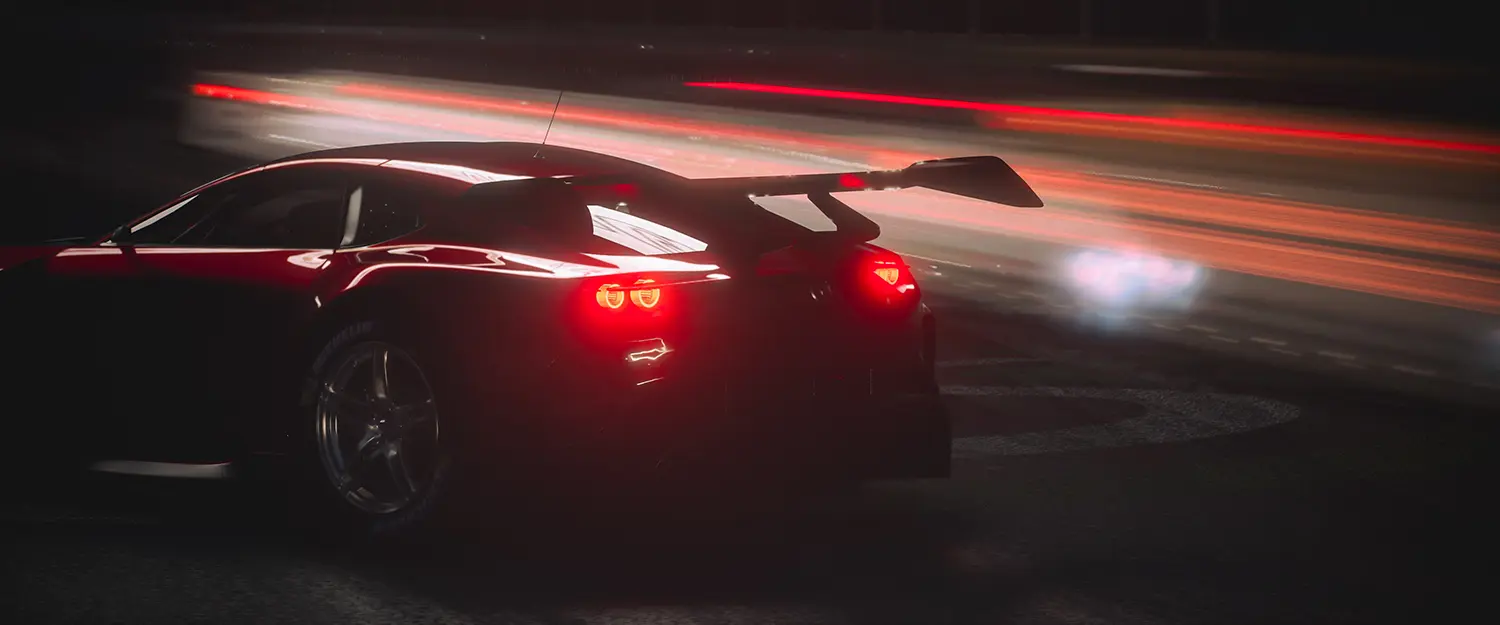
Taking long exposure shots of moving lights is one of the coolest and most fun things to try with photography, but it's not often something that can be done using in-game photo modes. The recent updates to Gran Turismo 7 change that though, making it possible to capture shots like these, and this guide is going to show you exactly how to do it.
- GT7 // LIGHT TRAILS -
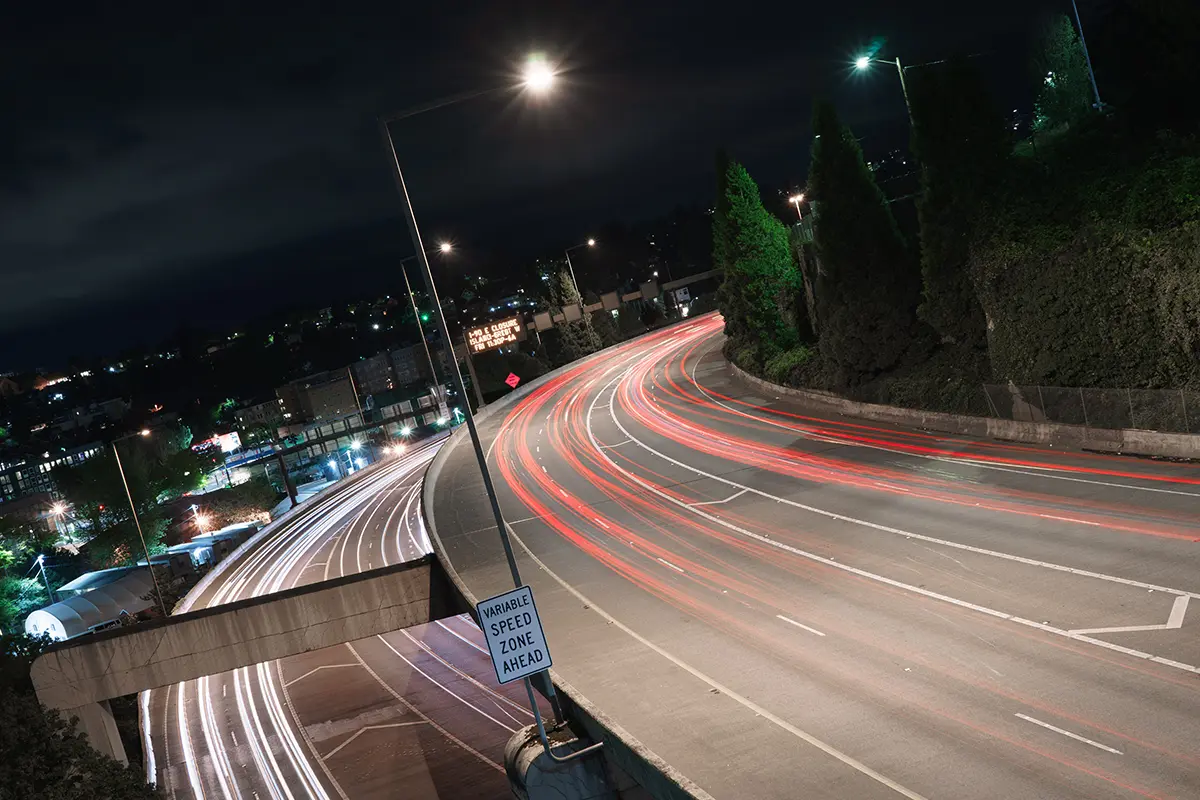
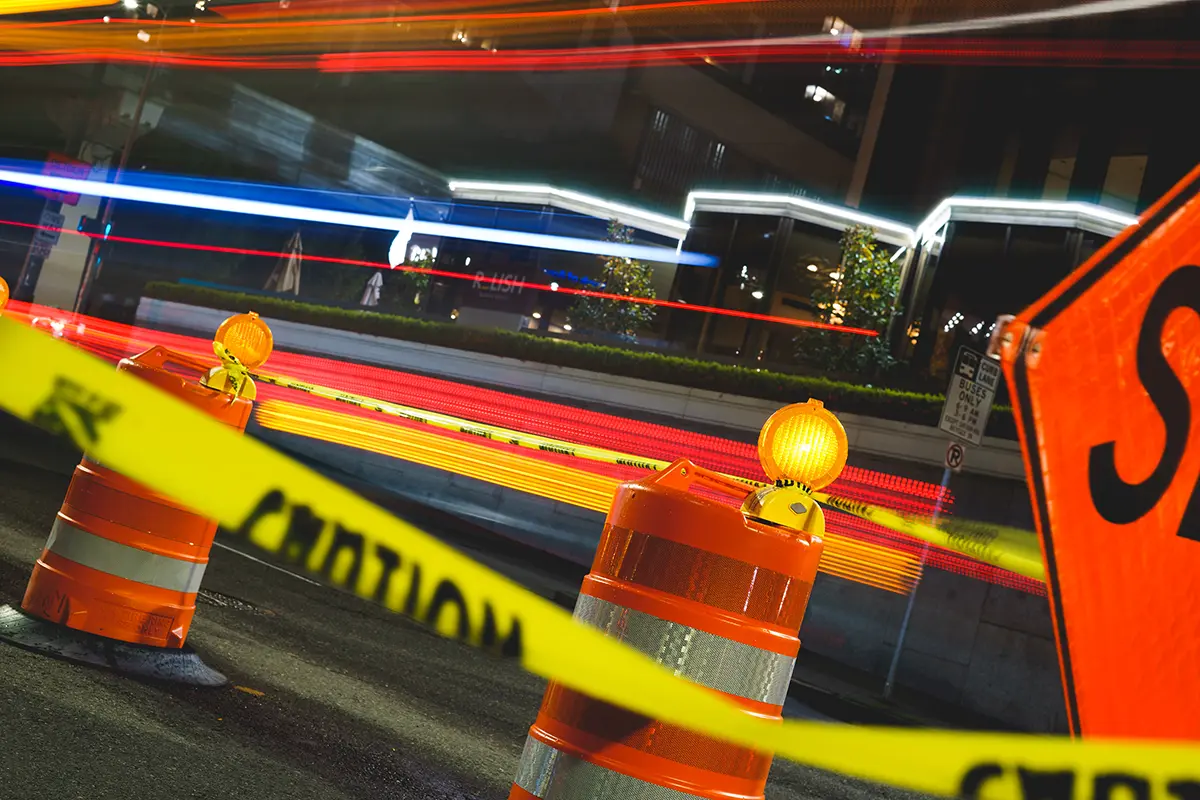
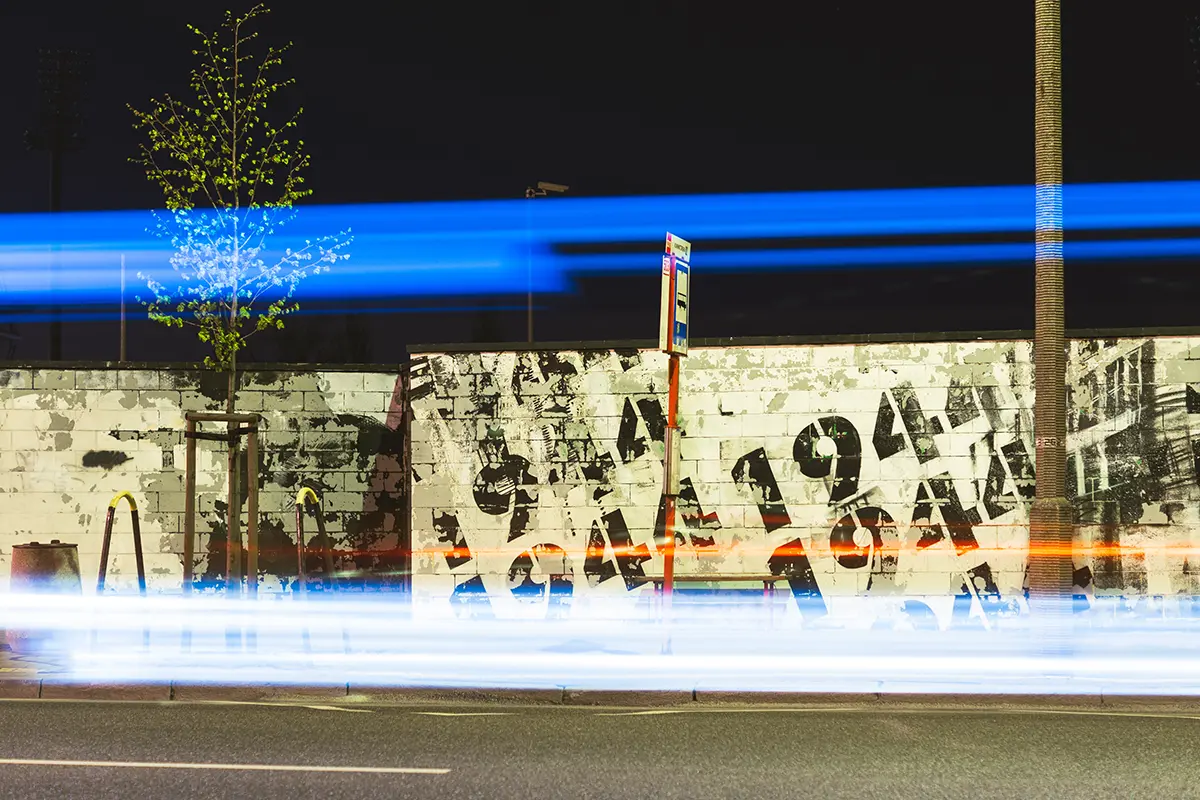
Gran Turismo has always let virtual photographers play around with shutter speed and car motion in Scapes mode and, although that can give some pretty cool results, it has never quite worked in the way needed to create proper light trails. To get an effect like the one in the shots below that I took while travelling with my real camera, you need to keep it perfectly still, and that just doesn't happen in Scapes.
With the Spec II update, GT7 now enables shutter speeds of up to 1s to be used in Race Photos as well. 1 second might not sound like much in long exposure terms, but it is enough to capture some of those elusive trails.
- MIK BROMLEY // LIGHT TRAILS -
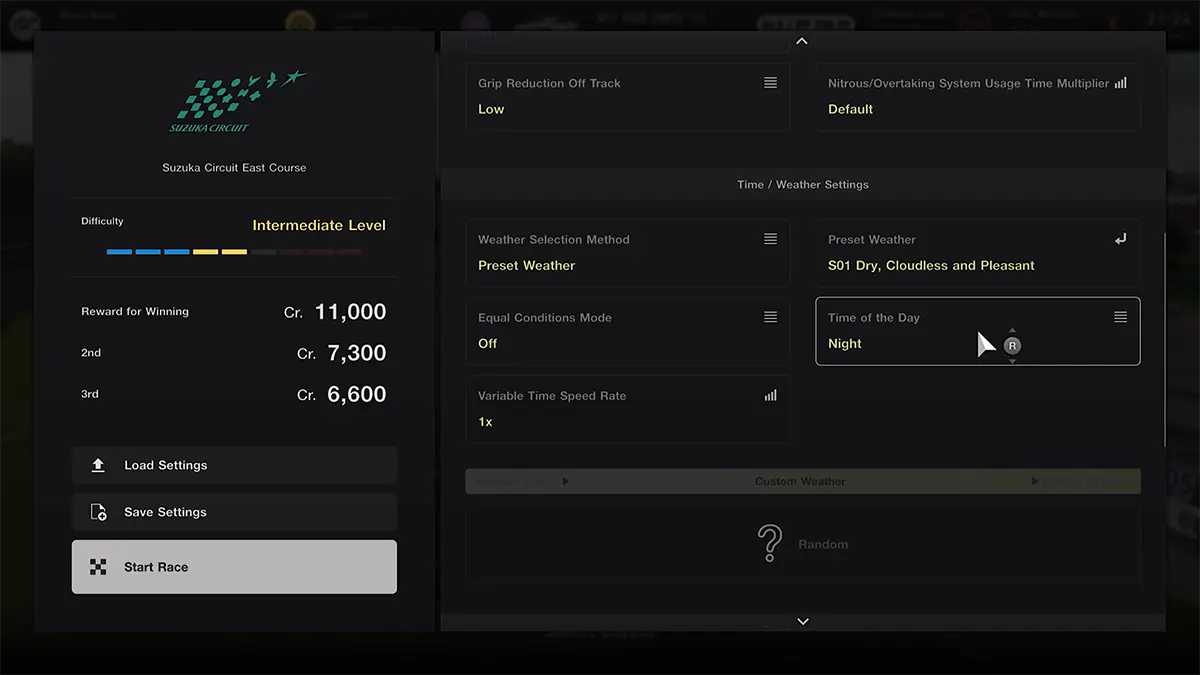
First of all, you need to do a bit of racing in the dark and the best bet here is to create a Custom Race on the circuit you want. This lets you change the time of day and the weather, as well as ensuring you have the maximum number of cars on-track for more trails.
Note that not all tracks actually include full nighttime races, in which case evening or sunset can still work. Essentially, you just need the cars to be running with their lights on.
- GT7 // CUSTOM RACE -
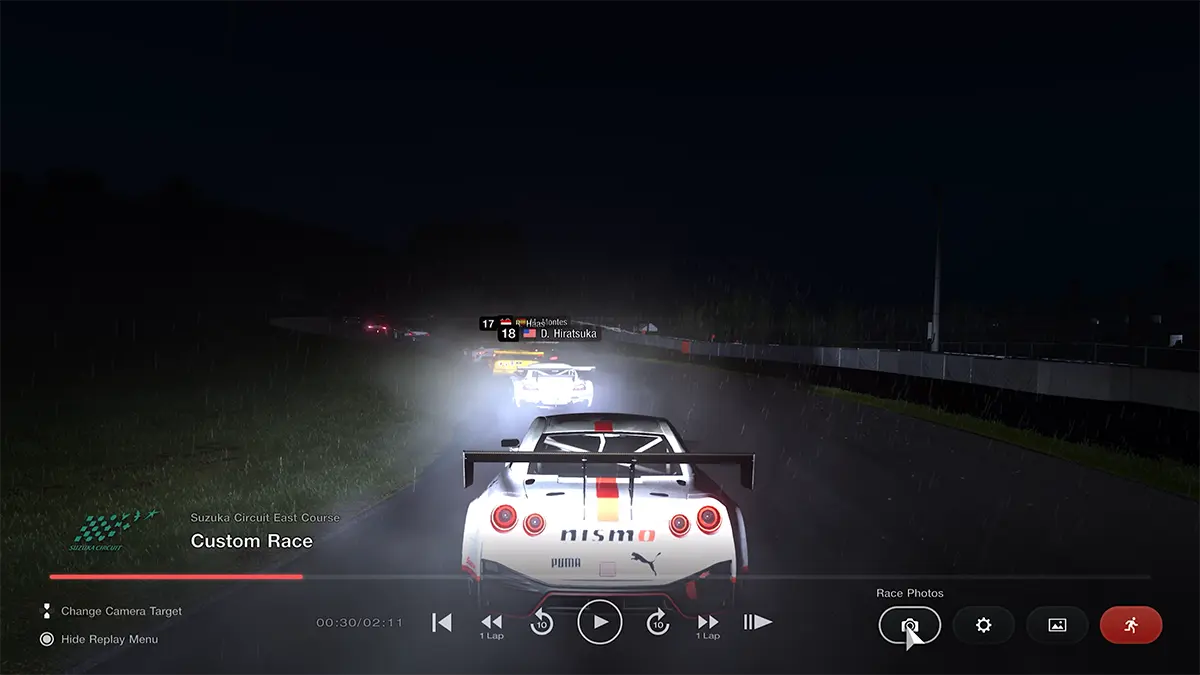
After the race, head into the replay and look for a point where the cars are at an interesting spot on the circuit. As I was racing at Suzuka, I paused the game at The Esses and am following cars in the lower order to make sure there are plenty ahead of the camera to act as light sources.
Bring up the menu and select Race Photos to choose a starting point for the photo mode camera. This can be one of the numbered preset positions, but it's best to use the Walk Mode for more freedom to explore. Once you find a good location, be sure to give yourself a little extra space to allow for compositional tweaks later on, then hit Prepare Camera to enter the editing mode.

- GT7 // PANNING SHOT -
The first thing to do here is to set the shutter speed and render a quick shot to check if you have some good trails to work with. By default, you'll get some pretty crazy results because of the panning shot settings and the fact that even choosing Fixed Camera doesn't stop it from moving to track the car. The effect can be interesting, but definitely not what we are looking for right now.
The key to avoiding this is to move the manual focus reticle away from the cars by holding ☐ and placing it on a static part of the scene, like the track surface for example. Notice how the panning shot target will now say "No target car", and rendering the shot again gives something that is much more like it.

- GT7 // BASIC LIGHT TRAIL -
With some idea of the end result now visualised, it's at this point that I like to work on the composition and framing. A useful tip to remember is that each car will end in the position they appear in the static shot with the motion blur and light trail created from their movement just before that point. Keep that in mind while setting up the camera's viewfinder.
Things are getting close to the finished shot now, but there are still a few things that can be done to refine it for a much better result. The Effects tab offers all sorts of features to work on the visual style with preset filters or more granular RGB adjustments.

Try boosting the Highlights and Saturation to make them pop and adjusting the Glare option for a soft glow...
Play around with this to find something that works for you, and if you really want to make the light trails bright and vivid, try boosting the Highlights and Saturation to make them really pop and adjusting the Glare option for a soft glow.
Now there is just one last thing that needs some work; notice how the lights show obvious steps instead of a nice smooth line, well that is because there are gaps between each of the rendered frames that the game uses to create the motion blur.

- GT7 // RENDER QUALITY -
While this can't be removed entirely, it can certainly be improved. Found in the Detailed Settings on the camera tab, the Rendering Quality option will increase the number of blended frames for better quality trails. Fine will double the number of frames, and Extra Fine quadruples it for much smoother results.
This does of course increase the time needed to render the image up to around 2 minutes, as the game will warn you, but it is always worth it. Give things a go yourself to see what you can come up with...
- GT7 // LIGHT TRAILS -
Subscribe to the regular newsletter for all the latest features from TheFourthFocus.com
