- Mik Bromley
- Mar 18
- 4 min read
Updated: Mar 24
ℹ️ - Zoochosis – Photographing Abominations

Do you ever find yourself thinking "I really need a few shots of mutant abominations at an evil research zoo"? No, me neither to be honest but, given the opportunity, you maybe have to ask "well, why not?", and that's exactly what you'll get with Zoochosis, the multi-ending horror-zoo simulator from Clapperheads.
The game itself is based around a cool concept that has you diagnosing sickly animals and curing their ailments after being somewhat reluctantly enlisted as night zookeeper. To no-one's surprise, this is a bad place, and the job soon includes fending off some truly hideous mutated creatures and generally trying to survive the worryingly nefarious facility.
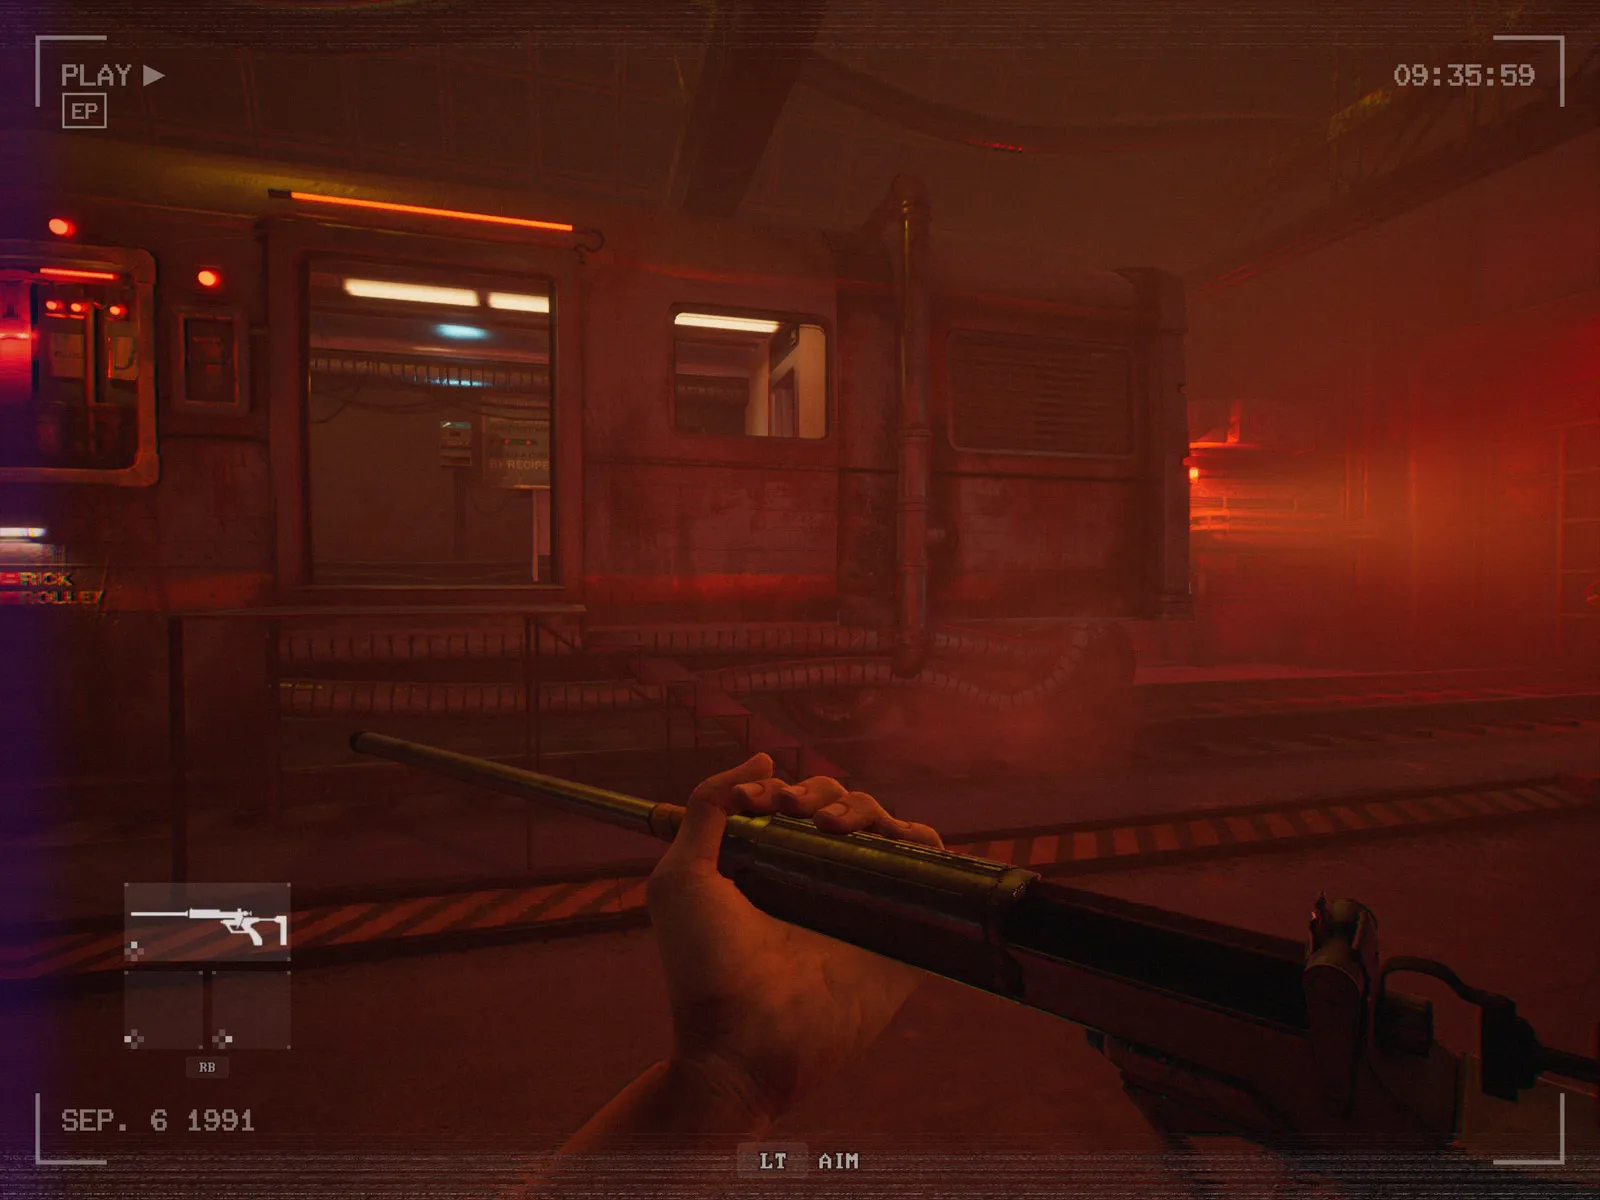
There's a visual hook too, with the game presented as shaky bodycam footage that has a retro VHS-style and 4:3 aspect ratio. It's probably easiest not to question just how bulky a VHS powered bodycam would really need to be and just go along with it as an atmosphere-enhancing aesthetic.

Should you prefer to play in 16:9 or without any interference effects for a cleaner view, then all of that can be turned off in the main settings. There's a simple toggle for it in the recently added photo mode as well, along with plenty of other options for photographing the grotesque beasts that make this game an interesting proposition for virtual photographers.
That is at least, once you find your way into the photo mode. With no mention in the game menus, I had to refer to the patch notes to find that it is accessed using the 'N' key. L3 is supposed to work too, but it didn't for me, not until remapping it to register as 'N' anyway.

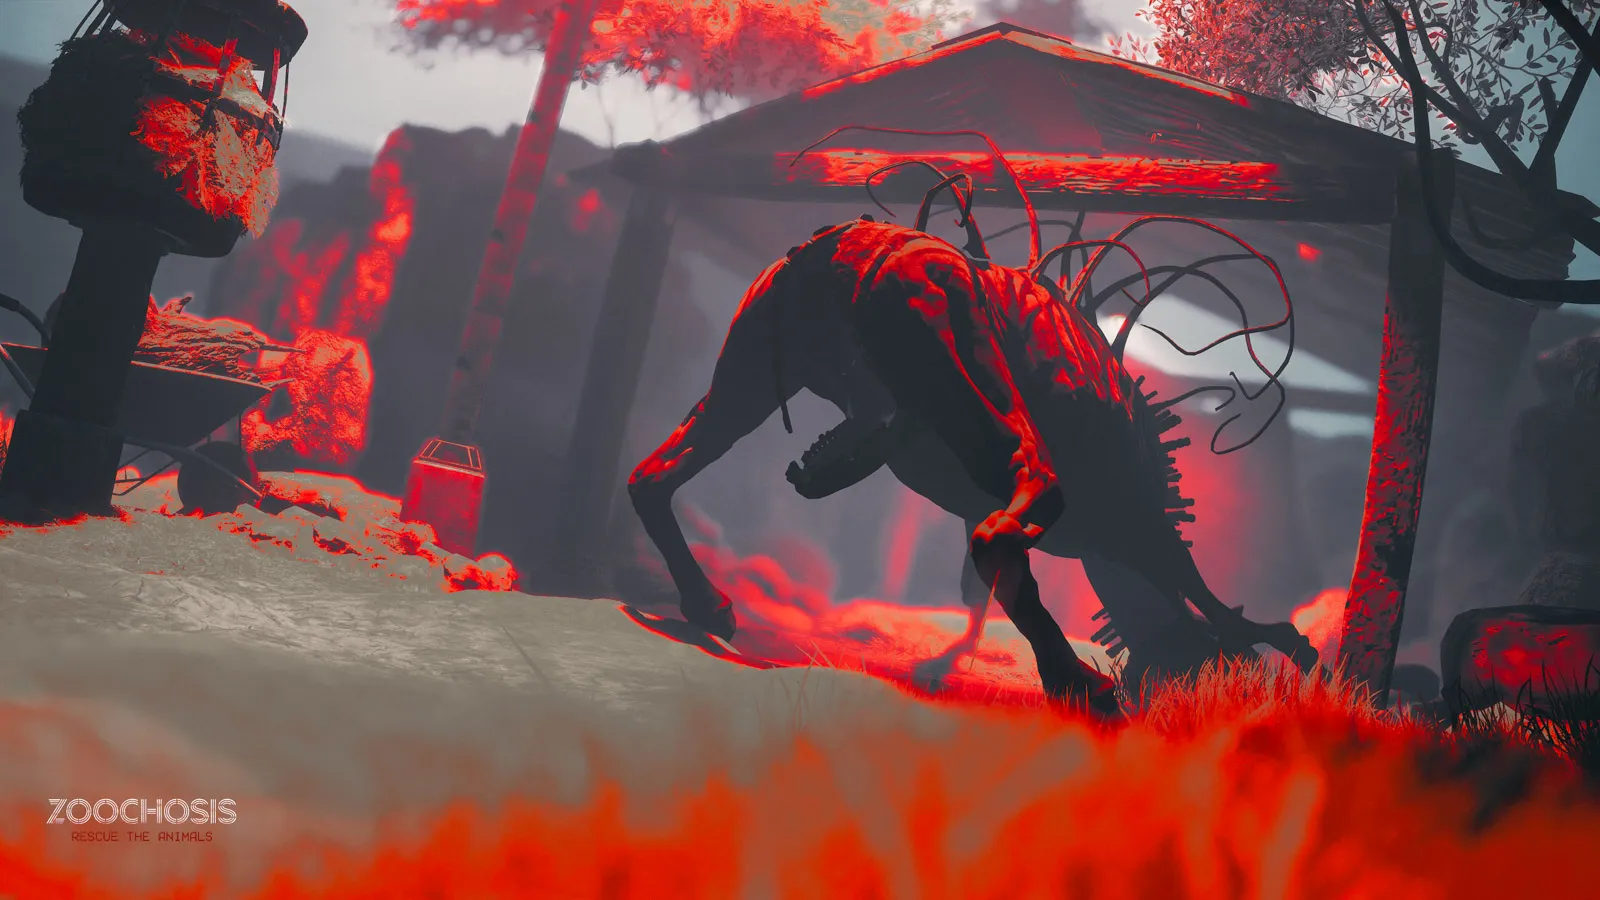
"Photographing anything with so many teeth is about as dangerous as you might expect..."
What you'll find there is that this is another implementation of the Advanced Photo Mode blueprint from the Unreal Marketplace. A photo mode that almost always comes with a few bugs and glitches that detract from an otherwise strong feature set, and the version in Zoochosis is no exception.
The default Orbit Mode camera cannot move for example – an issue that is at least solved by switching to Free Camera, albeit at the cost of some significant barrel distortion that cannot be corrected. Auto-focus is also typically unreliable, and the RGB controls for Saturation, Contrast, and Gamma have a nasty habit of resetting each other.

Frustrating? Yes, it can be but there's enough here to make it worth the effort and the photo mode can easily lead to good compositions with pleasing optical effects for some nice shots of the animals, whatever form they are in.

In fact, on your first visit to the animal enclosures, things will appear to be relatively ok with them. A high giraffe temperature here, some abnormal penguin sounds there, but nothing that can't be cured with a single injection. Things are calm, so you may as well grab a few shots of the friendlier creatures.
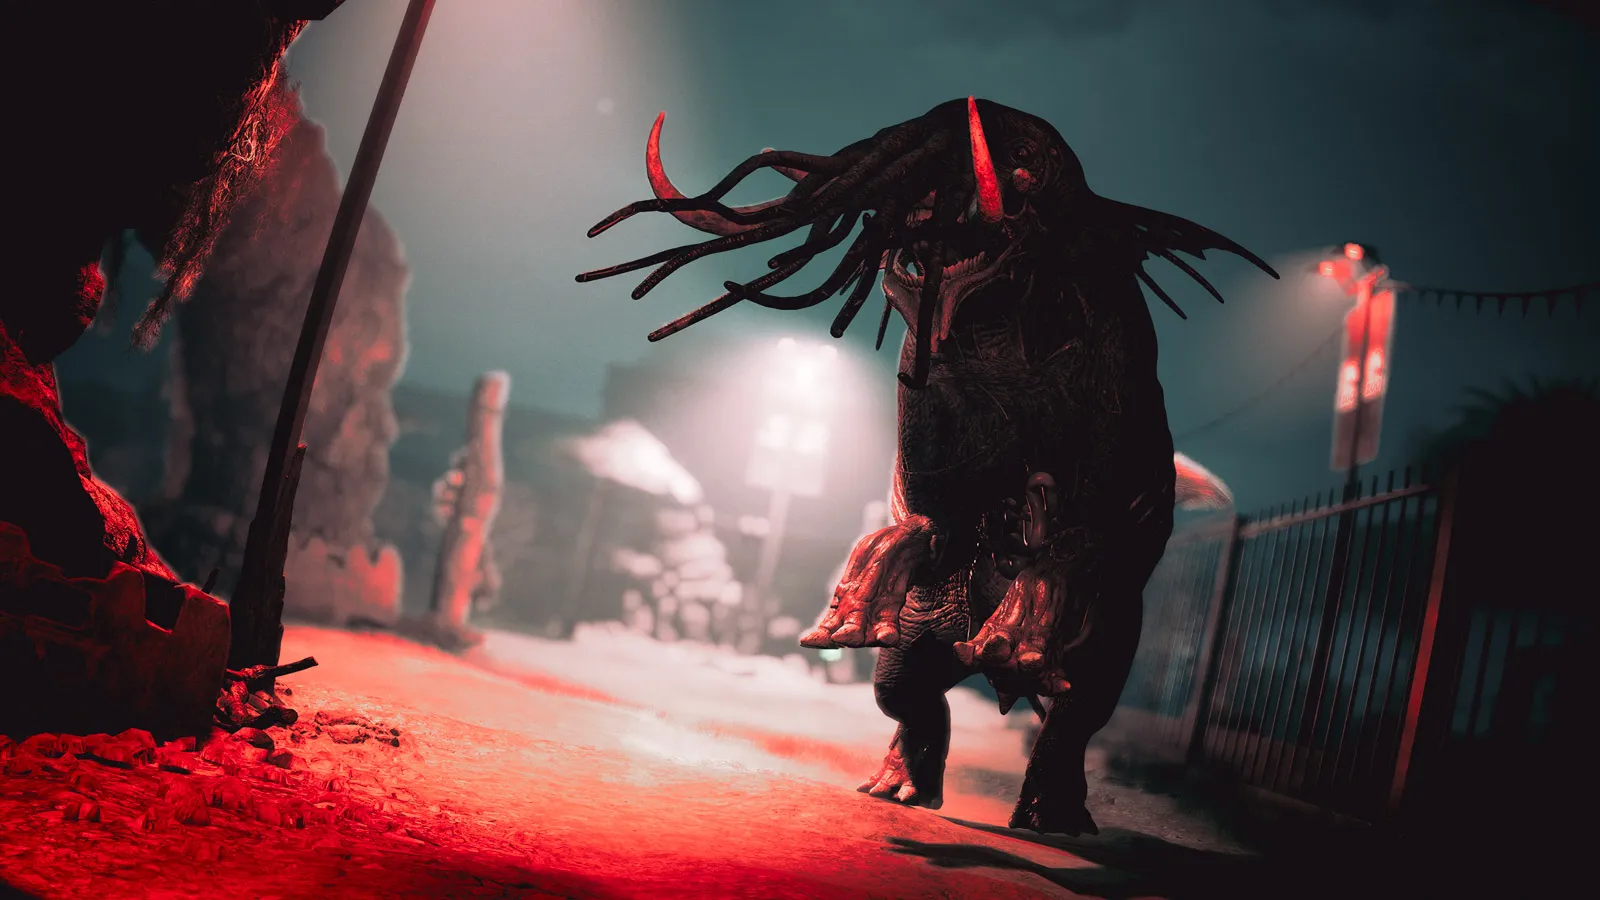
Hang around for a while though and it will take a dramatic turn for the worse. One of the affectionately named specimens will succumb to the effects of a parasite and morph into a bigger, uglier, and altogether more aggressive version of itself with a very noticeable desire to bite your face off!

Photographing anything with so many teeth and, in some cases extra mouths, is about as dangerous as you might expect. With the photo mode camera's limited range of around 5 m from the (invisible) character, it can be necessary to let them get close too. The inevitable side-effect of that is, well, getting eaten a bit!

A safer approach is obviously to use a narrower Field of View angle to zoom in from distance, you just won't be able to get the same sense of perspective. Whatever your approach, just be sure to make full use of the focus and aperture f-stop values to control the Depth of Field and give the image a more photographic look.
There's also the less obvious Sensor Width option which, in simulating the effect of larger camera sensors or filmstock, actually achieves a similar thing by producing a shallower depth of field with exaggerated defocus and bokeh blur.

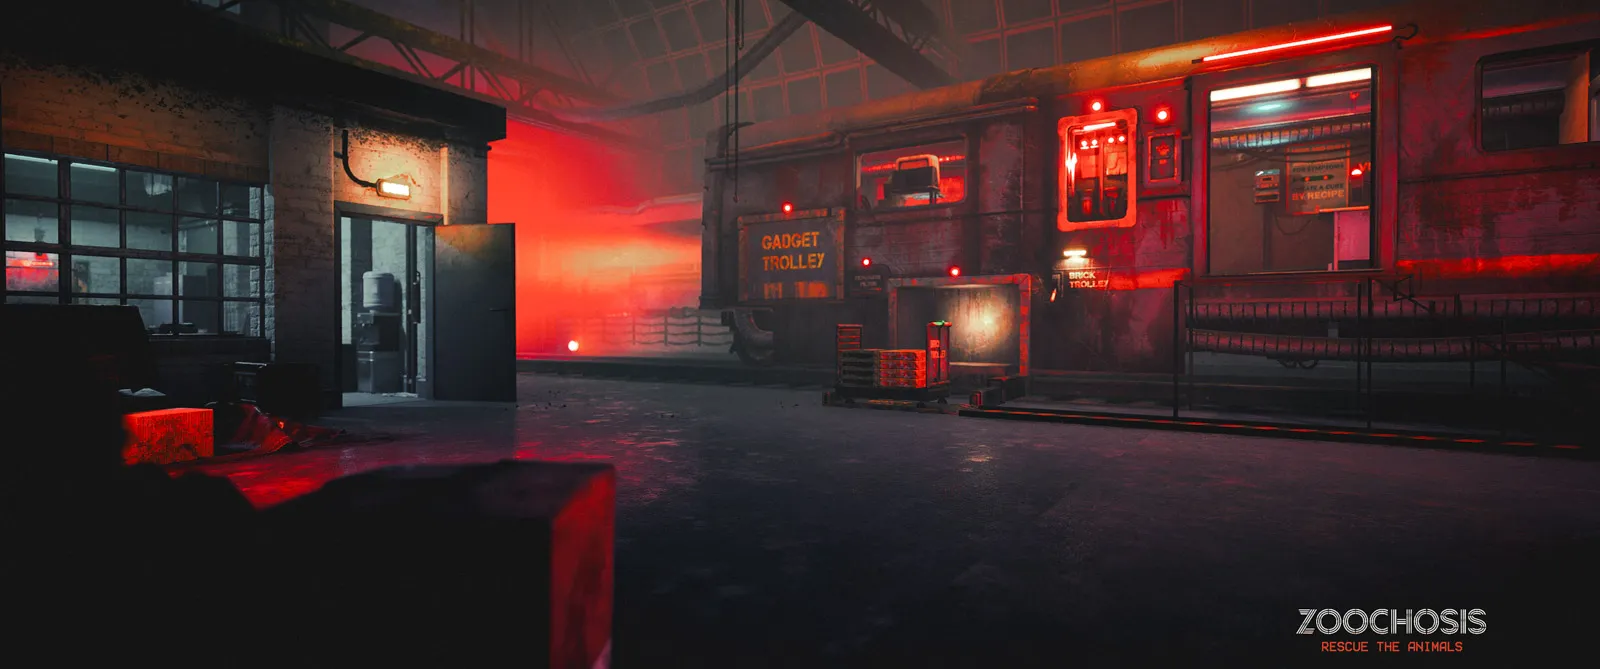
Another thing that becomes fairly significant for photography is that the lighting in the zoo turns red as soon as an animal mutates. It makes things feel more ominous of course, but if you don't want every shot to be cast in crimson, there are a few options in the photo mode to overcome it.
Temperature and Tint are the first level of colour correction, along with the 13 preset colour filters but it can still be tricky to balance the red and will usually need the help of the RGB Colour Grading options. These offer the most powerful controls to transform the colours, or rather they would do if it wasn't for that resetting bug I mentioned, and the fact that each slider affects complimentary colours – so green saturation will also boost magenta for example.

It can be hard to get deliberate results then, and even harder to replicate them a second or third time, so it's perhaps best to embrace some of the chaos of this zoo and let experimentation lead the way. Some of these beasts are hideous no matter what colour they are, so who cares? I'd even say that choosing to include strong colour tones in these shots is the perfect way to go.

It is well worth seeing all of the horrors on offer for a few snaps then. Whether that's a de-fleshed moose, a back-to-front zebra, or huge tentacled elephant, there's an impressive collection of monstrosities to choose from. They don't come easily though and you'll have to play through to some of the various endings to change which animal enclosures become available in New Game + or even New Game ++.
Make the right choices along the way and you'll see a bit more of what's really been going on here and eventually meet the mother of all abominations. The real tragedy is that there is sadly no opportunity to ask her to "say cheese".


Subscribe to the regular newsletter for all the latest features from TheFourthFocus.com


Comentários